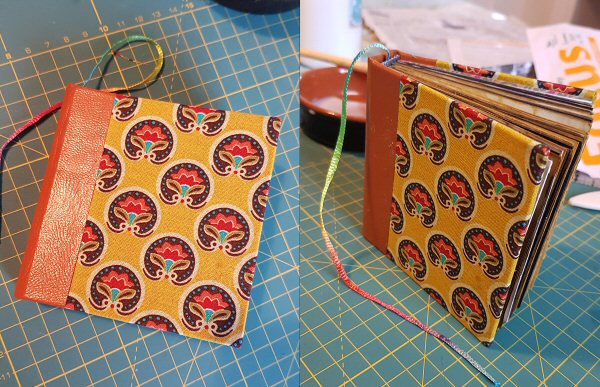
I made another little book yesterday and this time tried to take a few photos as I went along, although I kept forgetting between the various stages! Hopefully I got enough to give some idea of how I make them anyway.
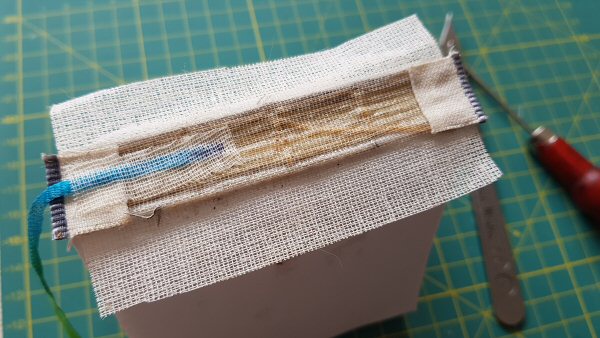
I used the paper I had eco-printed to make some signatures, which I sewed together using the technique in this video. Here are the signatures sew together, with EVA glue applied to the spine, headbands and a strip of mull spine lining to strengthen it. The little strip of ribbon will be the bookmark. I also attached the endpapers at this point.
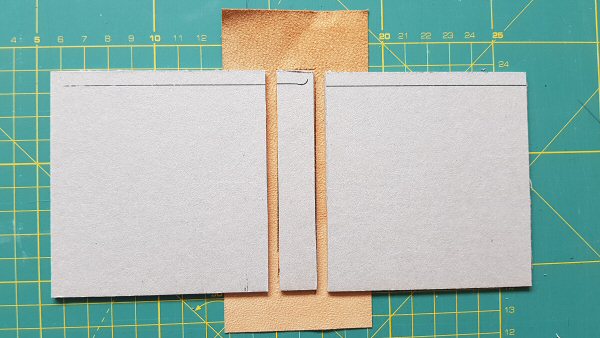
While that was drying I made the covers. I cut pieces of heavy cardboard (the back of a sketchpad actually) for the two covers and the spine, then glued them to the strip of leather I’m using to cover the spine. There’s a 1/4 inch gap left between the spine piece and each board piece to allow room for the book to be opened and closed.
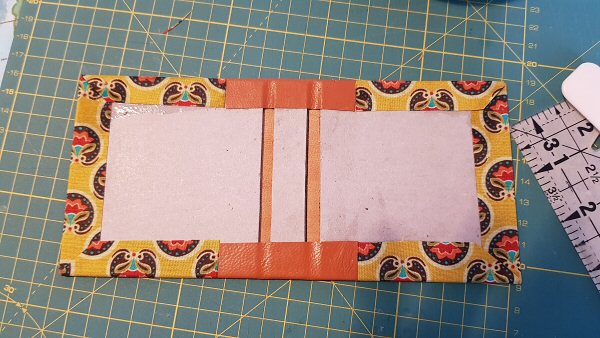
Bookcloth is then attached to the uncovered part. I make my bookcloth from quilting weight fabric bonded to tissue paper with Heat N Bond, which stops it stretching when wet and also prevents the glue from coming through the fabric making a sticky mess!
The signature block is then glued into the covers, firstly by the loose flaps of the mull spine lining and then by the endpapers. I didn’t take photos of this part because the glue dries so fast and I had to work really quickly. But this video shows the technique I use.
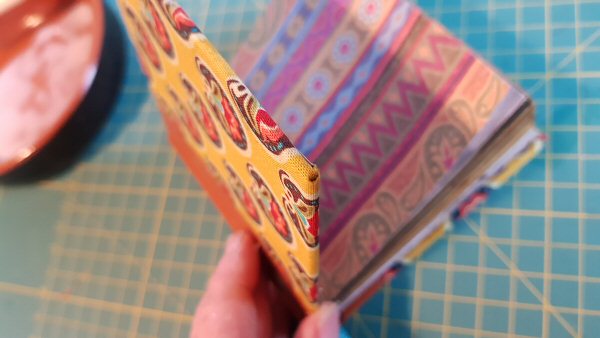
After a bit of smoothing out with the bone folder here’s the completed book, ready to be pressed under a heavy weight overnight to flatten it all out. This one is a gift for a friend.